CloudLab Instructions
If you need access to real servers (not VMs), then you will need to use NSF CloudLab.
Read this page carefully!
Create an account:
- Go to the website and create an account, listing “GWCloudLab” as the project you want to join
- Use your GW email address
- You will need to create an SSH key. Be sure you understand what this means and keep it safe so that you are able to access the servers you create.
- I will need to approve your account before you can use it. If you don’t get a confirmation email within 48 hours, send me a reminder
CloudLab General Info:
- CloudLab is free to use for academic and research purposes (thanks to the US Government!)
- When you request a server from CloudLab, it will be assigned to you for 16 hours. After that time, you will lose everything on the server!
- To prevent this from happening, you can request an extension for your servers (described below)
- To avoid losing all of your work, you need to save your files somewhere else (e.g., GtiHub) or make disk snapshots
- You must use these servers ONLY for purposes related to this class, and nothing else!
Once your account is approved, follow these steps to setup a cluster of 3 servers.
- Log in
- Be sure you have an SSH key setup for your account. Click your username in the top right and go to Manage SSH Keys
- Follow this link to the OpenNetVM profile and click Next
- This profile includes DPDK and OpenNetVM installed in the
/local/directory. This saves you the trouble of installing them and their dependencies yourself.
- This profile includes DPDK and OpenNetVM installed in the
- On the Parameterize Tab:
- This text box lets you specify how many servers you want to request. They will be deployed in a chain (first node connected to second, second to third, etc)
- Enter 3 so that you can use
node1as a client,node2as your middlebox, andnode3as a server - Leave the Host Type as
c220g2or change it toc220g5 - Click Next
- On the Finalize Tab:
- Enter your name so the experiment can be distinguished from work by other students
- Make sure the Project is “GWCloudLab”
- Make sure the Cluster is “CloudLab Wisconsin”
- Click Next
- On the Schedule Tab
- Click next to have it start right away, or change it for a delay
- Note that by default your experiment will only last 16 hours!
- Hit Finish to create your experiment.
- The site should switch to a status page. It may take 5-10 minutes for your nodes to start up. If you get an error, you can try to post to Piazza.
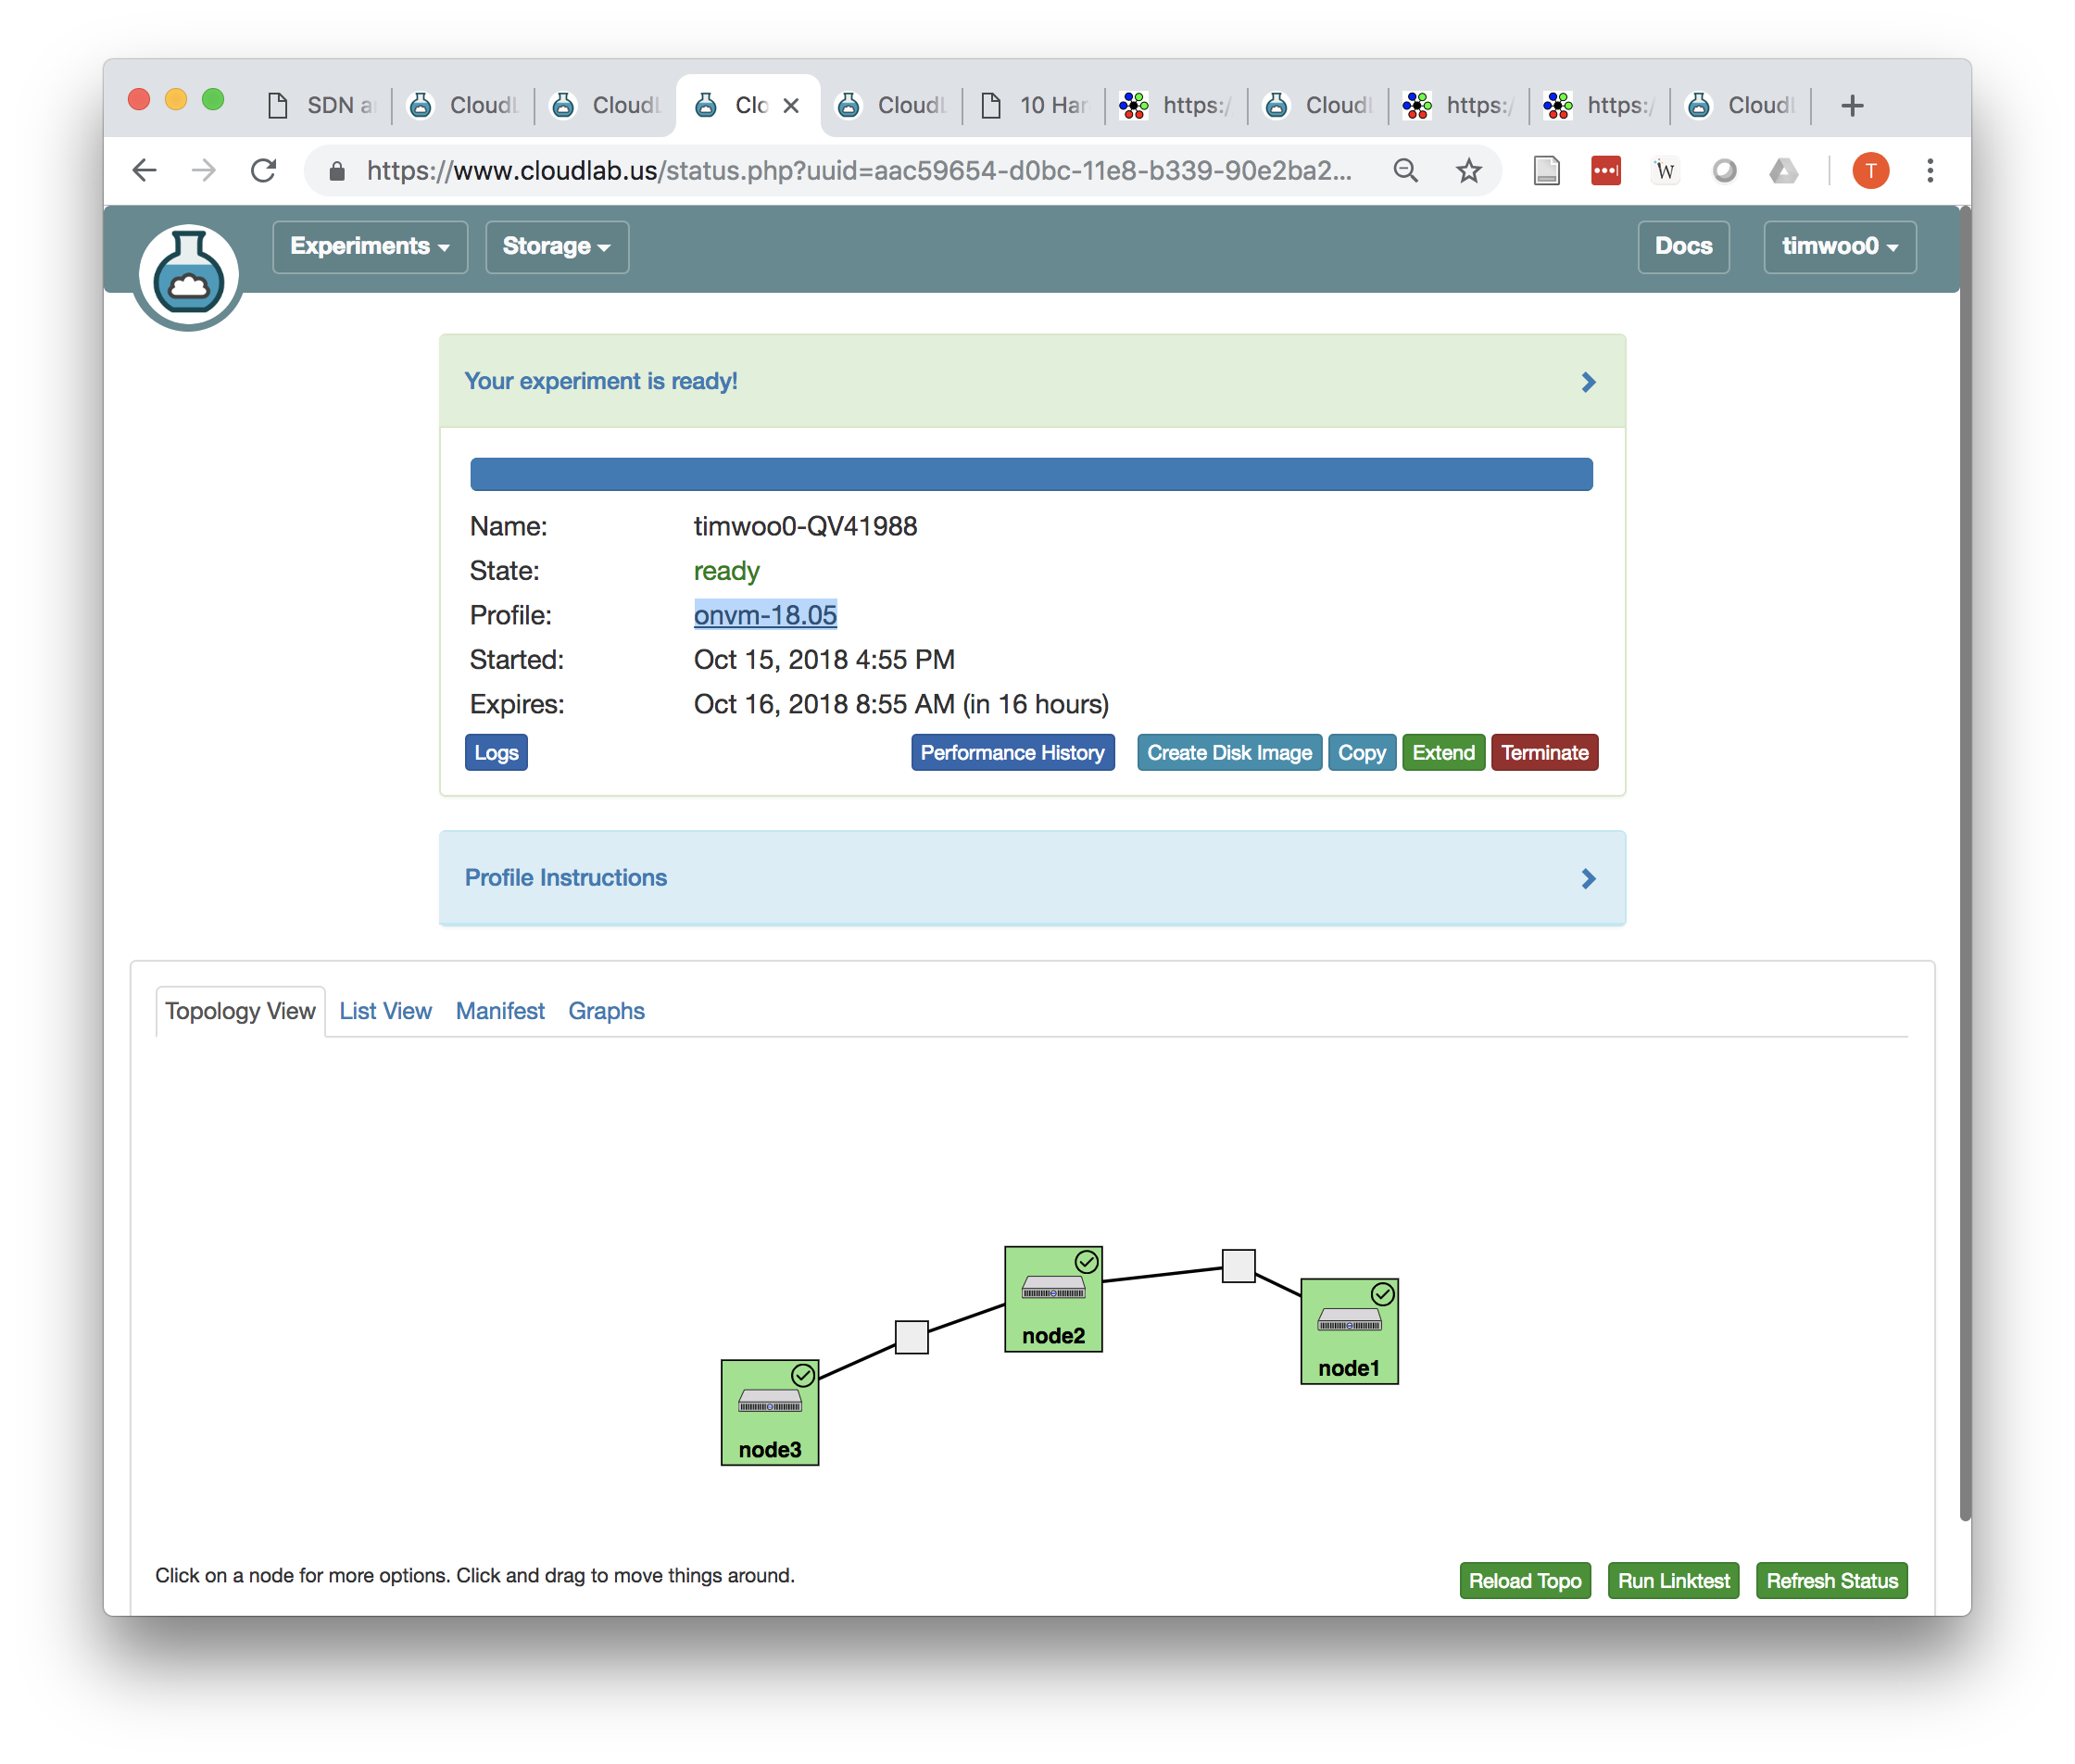
Eventually your experiment will be Ready like this:
Click on List View to see your servers:
- The name of each server and the SSH command used to log into them will be displayed
- You may be able to click on the link and have the SSH connection open. If not, copy/paste it into a terminal or your SSH client
- To reach the server you will need to use your SSH key
To extend your experiment to last longer:
- From the status page click the Arrow near the words “Your expeirment is ready!”
- Click the Extend button
- Drag the slider to extend by 7 days
- You will need to provide a justification about why you are extending it. Write something about how you are using the resources for a class and you need more time.
- In 7 days you will get a warning that it will expire soon. You may need to repeat this process then.
- When you are done with your resources, click Terminate to destroy the experiment. Note that you will lose all data!
- Try not to be wasteful with the servers – if you aren’t going to use them and you haven’t made significant changes, then terminate the experiment and create a new one when you are ready to use it again.
Using your servers
The profile provided to you creates a chain of servers (3 of them if you followed the directions). Your goal is to setup these servers so that node1 will be a client, node2 will be your middlebox, and node3 will be a server.
- When you first run the system,
node1will not be able to reachnode3(for example using ping) - If you are able to successfully run the DPDK
skeletonor ONVMbridgemiddlebox examples onnode2, then it will forward packets between them, allowing client and server to communicate successfully.- node 1 has IP:
192.168.1.1 - node 2 initially has IPs
192.168.1.2and192.168.1.3, but when you bind it to DPDK it will lose control of those IP addresses. - node 3 has IP:
192.168.1.4
- node 1 has IP: